|
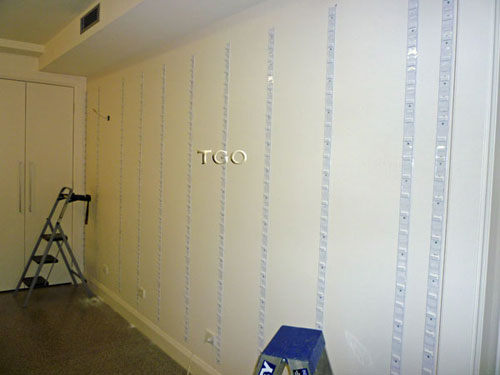
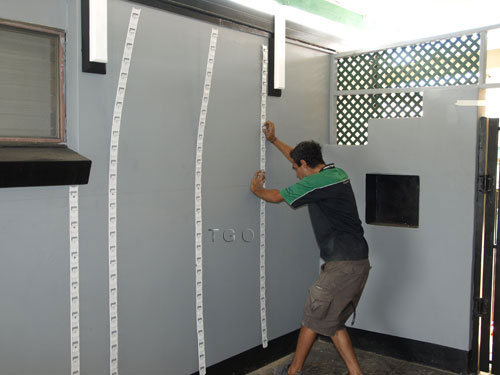
It all starts with our tidywall back hanger strips.
Our back hanger systems can be screwed through gyprock into steel or timber studs or on batons attached to uneven brick or masonry walls.
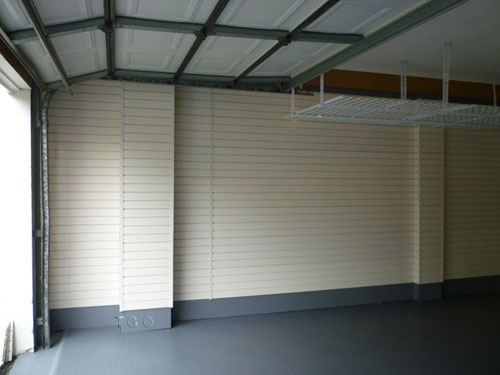
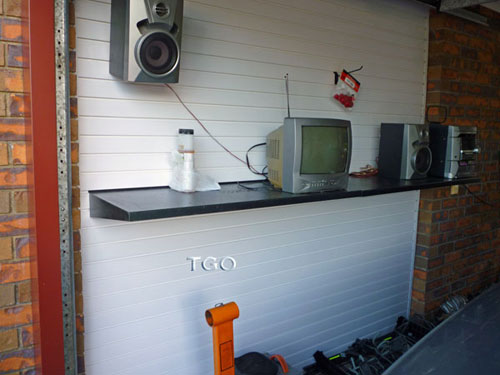
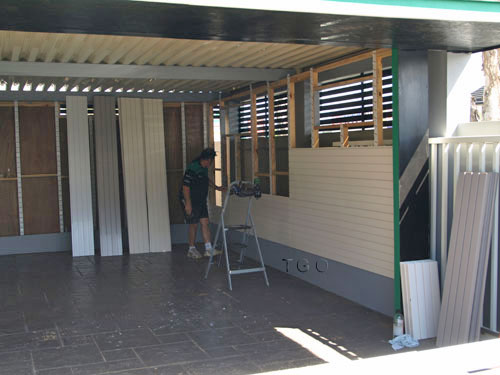
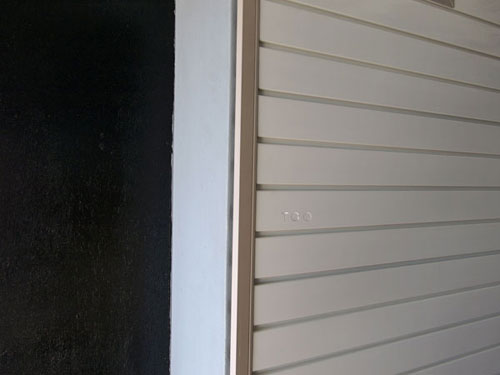
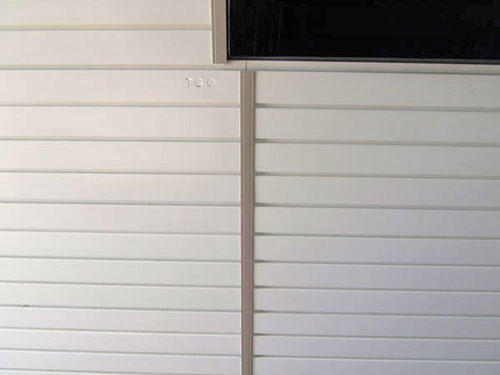
One, two, three, four, five, six, seven, . there is a Tidywall installed, easily a one man job A finished wall showing tidywall panels, wrapped completely around columns and bricks. Same wall as D2 abut finished off completely. so easy to clean. Just a hose and spray or wipe it down with a damp cloth. No rock unturned or detail missed this could honestly be your wall in a day.
You can achieve this look everytime. No screw holes in your panels and it can be unclipped an taken with you if you move. There really is no area that can not have tidywall panels applied to them.
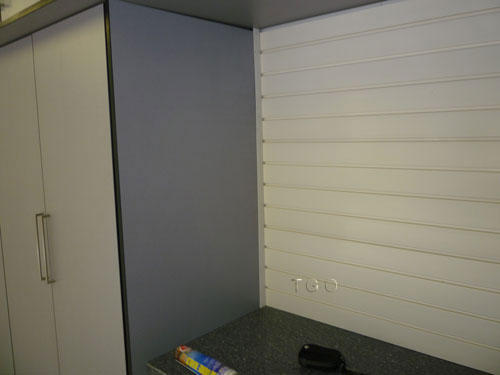
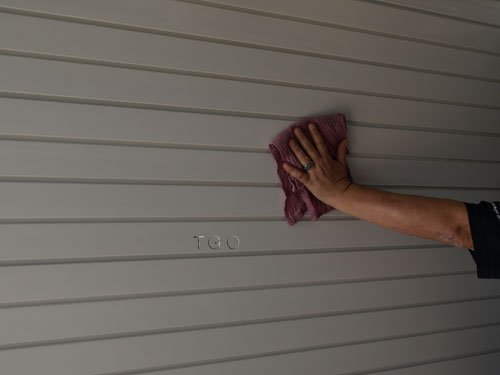
Same area as previous picture with panels installed. This wall will never have to be painted again. All dirt grim
and smudges just wipe off with soap and water and you will never have to worry
about holes or gouges in your walls again. Suspending the TV is our HD steel shelves, you can view more of these totally adjustable totaly steel bench tops or shelves in our shelving catagory. By the way a flat screen TV would just as well hang off this wall where ever whenever as easily as they bulky speaker. Tidywall gives you a very clean modern look that is easy to maintain, and gives you a lifetime of organising options. For maximum wall strength we attach hangers to every stud or if applying to brick every 600mm apart.
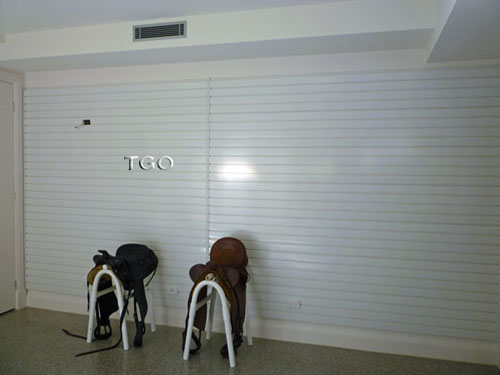
Same wall as previous picture showing installed panels on hangers.
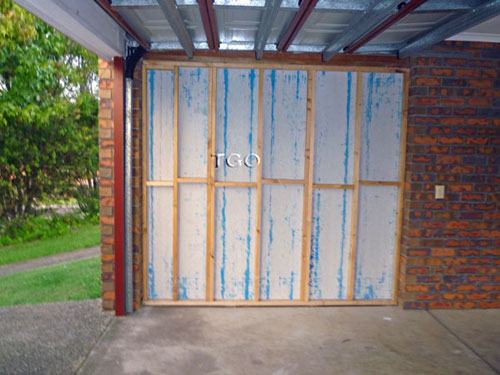
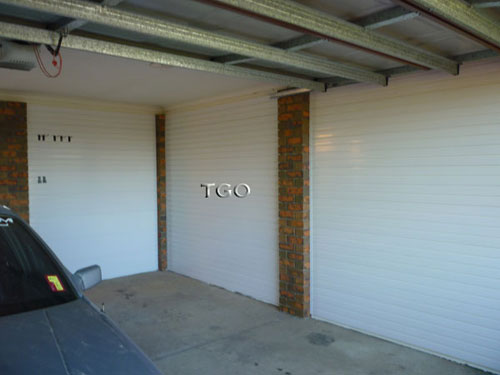
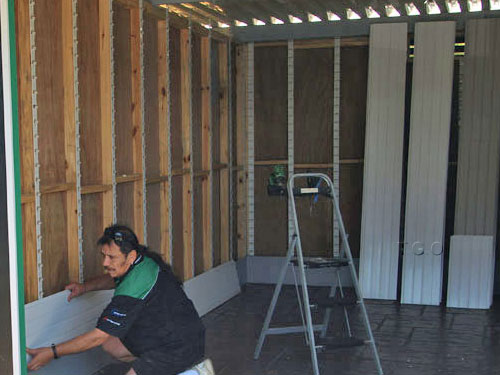
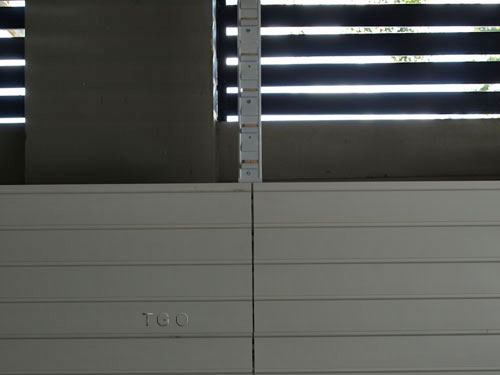
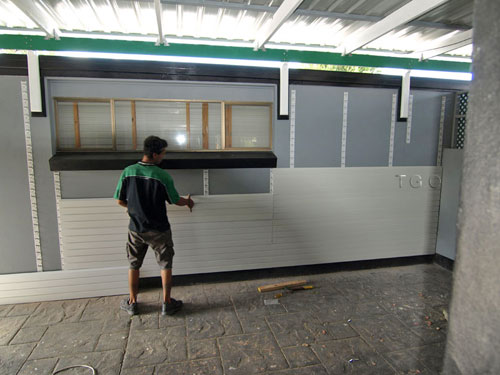
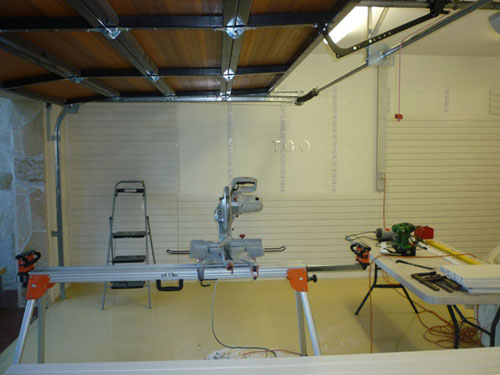
This was an open car port that we framed in. No gyprock being used whatsoever.
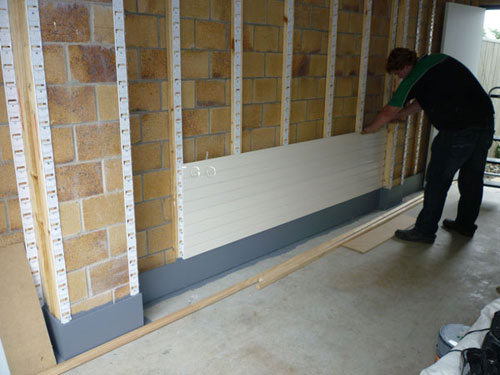
If you are still in the planning or building stage for your home. It would be wise to consider the savings you would acheive having us come in first before you pay the gyprocking, plastering, painting cost. You would ggt these panels pretty cheap in comparison. It really is this easy. Panels just go up one after the other, clipping into place for a strong permanent fixing, unless
you decide to move and then they all just unclip ready to be installed in your
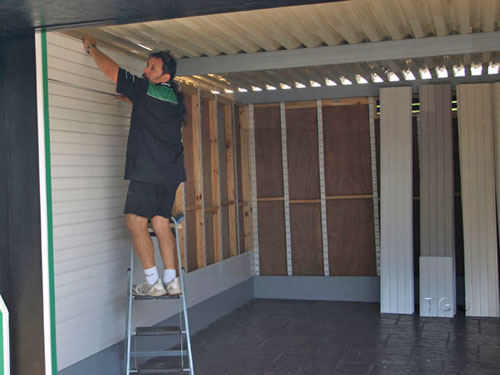
new space. Tidywall panels are light, strong, and can easily be installed by one person with minimal effort and tools to get a professional finish. Our tidywall panels measure 2440mm long x 305mm high and are 18mm think. They are
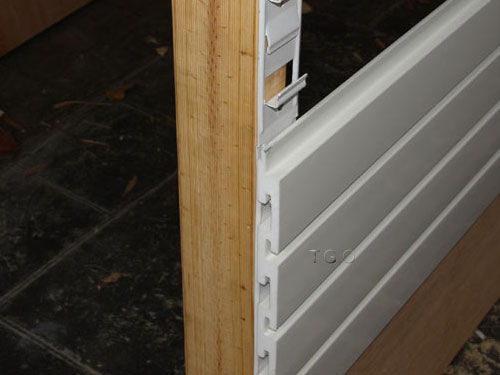
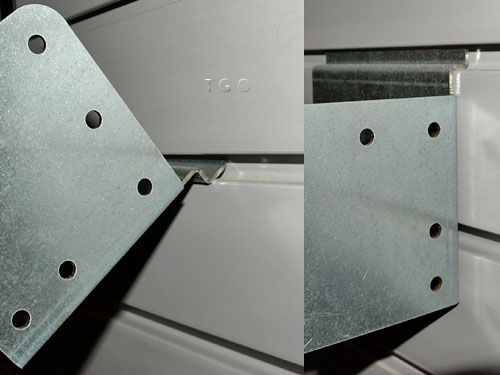
the strongest panel in the world being used today. They have a high quality gloss finish that will compliment any room in your house. Most garage walls incorporating tidywall panels can be installed by one person in a day. We have detailed instructions making it very simple to install these tidywall panels at home by your self with just a few tools. Fill out our web form with your required information and you will have it next business day. These 50mm
wide x 1.2mm thick powder coated steel hangers support the panels at every
groove where an accessory attachment would fit, making sure that the whole
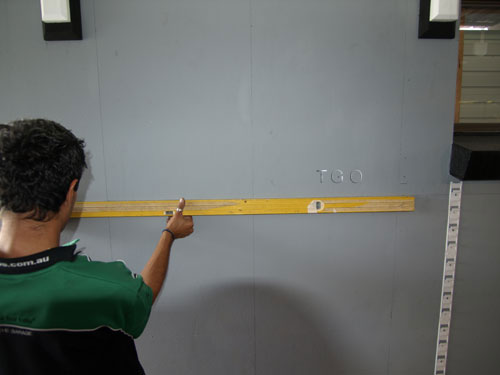
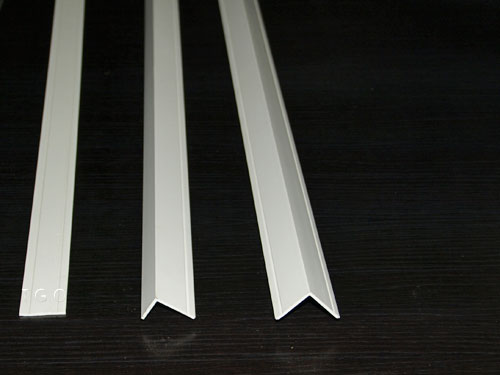
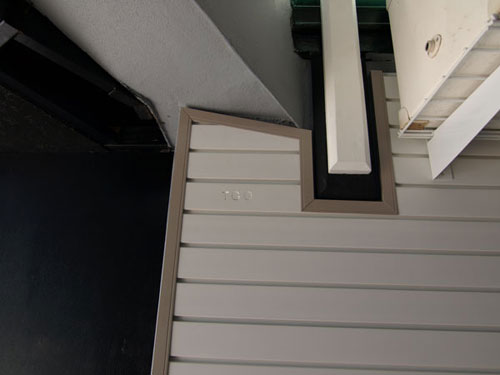
panel is supported for maximum weight capacity. We have three different types of finished trims to assure you a neat and professional finish no matter what application you may run into. The most important part of installing our tidywall panels and hangers is your horizontal level line and your vertical plumb lines.
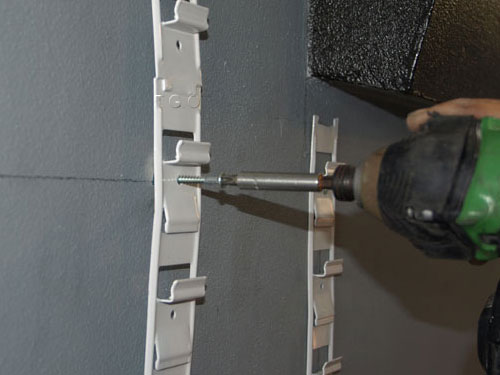
As we said before we can hang these panels anywhere. If you
have masonry walls that do not have a lot of bump or wave in it then you can
attach the hangers directly to these wall's. Green plugs are recommended for attaching hangers directly to masonry walls. We recommend a minimum 30mm gyprock screw into every other hole on the hanger for maximum strength.
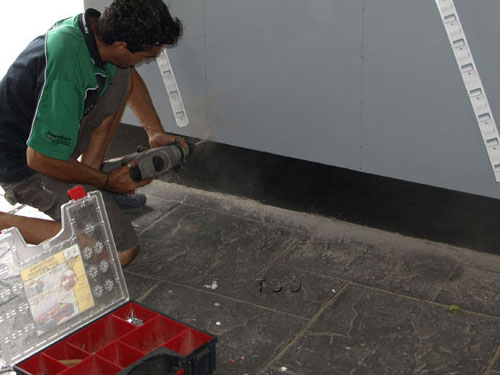
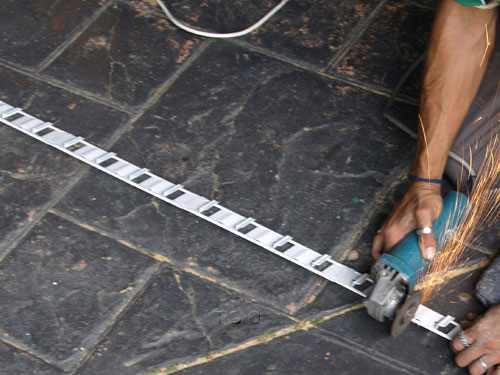
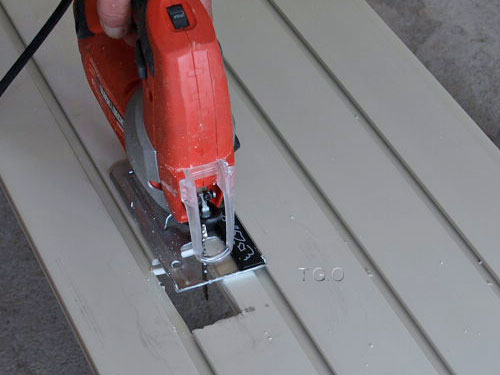
For
applications where you will not be using a full panel at the top to fit into
special applications, you can easily cut the hangers with a grinder or other
metal cutting device to suit the special height you need. This picture shows hangers being attached to a fairly even masonry wall a minimum of 600mm apart.
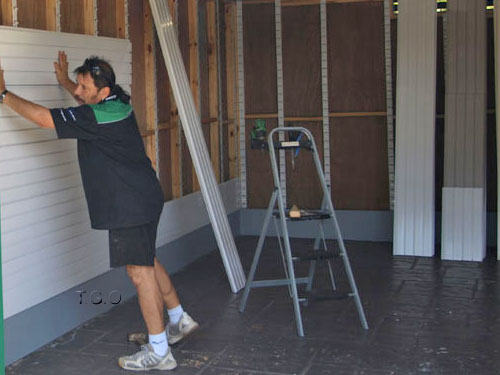
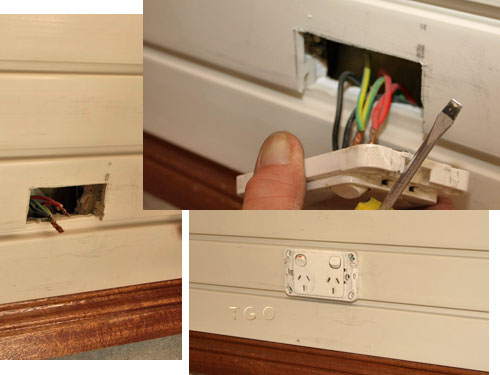
One man one panel no problem. This is the beauty of the whole system, everything clips on and clips off with ease. This give you years of trouble free organising. Minimum tools are needed to install our tidywall panels, you can usually get away with a jigsaw and a drill for almost every application. Any electrical just pulls through he panel and reattached for a clean and professional look always turn
power off at main switch before attempting any work with electrical
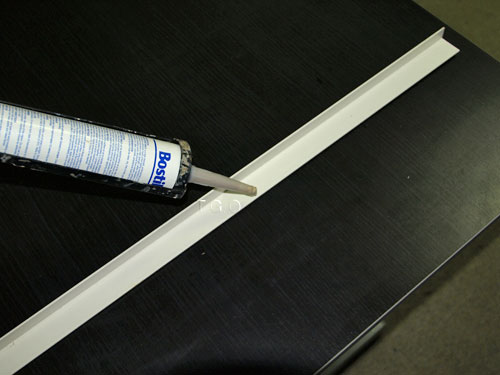
outlets. A jig saw or circular saw can also be used to give you a clean professional finish when installing vacuum, plumbing or any other unique fit outs. Did we mention that Tidywall is waterfproof? Well it is, also mold resistant. Is Tidywall a life saver? It can't give mouth to mouth but it can add quality to your lifestyle that is something big. Just a moist cloth to clean the panels is all that is needed. Never paint again. Basic tools is all that is needed. You could cut these down with a hand saw if that was all you have. We carry an assortment of matching trims to get that professional finish. We use a few drops of clear silicon and tape to hold the trims in place instead of nails. One of our "L" trims covering the end of a panel run. Flat trim used to cover joins where panels butt together. Glamour shot of some serious trim out. Everything is possible. 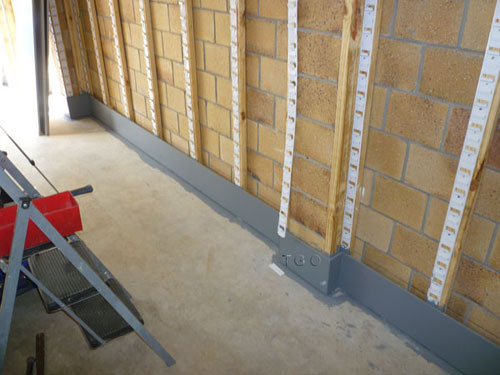


 SLATWALL DETAILS We love this slatwall product so much we had to add these extra detail shots. Tidywall is a great product and hopefully these extra pictures will help explain in more detail just how useful it is and how good it looks once installed in or around your house. TIDYWALL IS SLATWALL ON STEROIDS. 
|